Monday, September 14, 2015

September birthday party

September's party was super easy, as I actually threw my own birthday party this year I had all sorts of things on hand. I did a park picnic which was lovely but I wanted to see how the same elements would function at a more simple dinner party so I threw together this pretty table.
The background was a mixture of tassel garlands and some gold Mylar number balloons. Both are hung on the wall with washi tape and made things feel instantly festive. 

For the table I started with a white + print table cloth, and layered some light blue woven napkins at each place as a place mat of sorts. I used the same white plates and gold flatware seem to be my standard go to, but I layered the dark blue floral napkins and cutlery on the plate with a different patterned bow tie at each place. I also used a gold rimmed wine glass and a shorter water glass, and place cards I made out of leftover invitations, with a felt flower clipped to each. 

As the cake topper I used the original drawing for my invitations, which I redid the color to, and I made a new cake stand by layering a white plate on an overturned blue bowl.

Cost breakdown was as follows:
balloons.....................................................................$8.00
pin backs...................................................................$4.00
hair clips...................................................................$3.00
total..........................................................................$15.00
This table was super fun and easy to put together, and it was a nice challenge to try to use the parts from my picnic in a different setting and see them still look nice. Also I very much enjoy doing party favors that can actually be worn at the party, it's such a nice extra touch.


Wednesday, September 9, 2015

...tied up with string

I have way too many craft materials, sewing trims, bits and bobs. I try to convince myself that it's not hoarding, it's collecting. But this is a fine line. My studio is overflowing with tidbits and trifles. 

Recently when I was wrapping a gift I decided to experiment and see how many different ways I could decorate a brown paper package by using only materials that I had on hand.

I began with this blank surface:
First I used ribbon and cut out some old block printed postcards.


Next was a polaroid of the sky with some navy pom pom trim.


Then I went for some traditional velvet ribbon, plus an old photo and a little 'for you' tag held together with a mini clothespin.


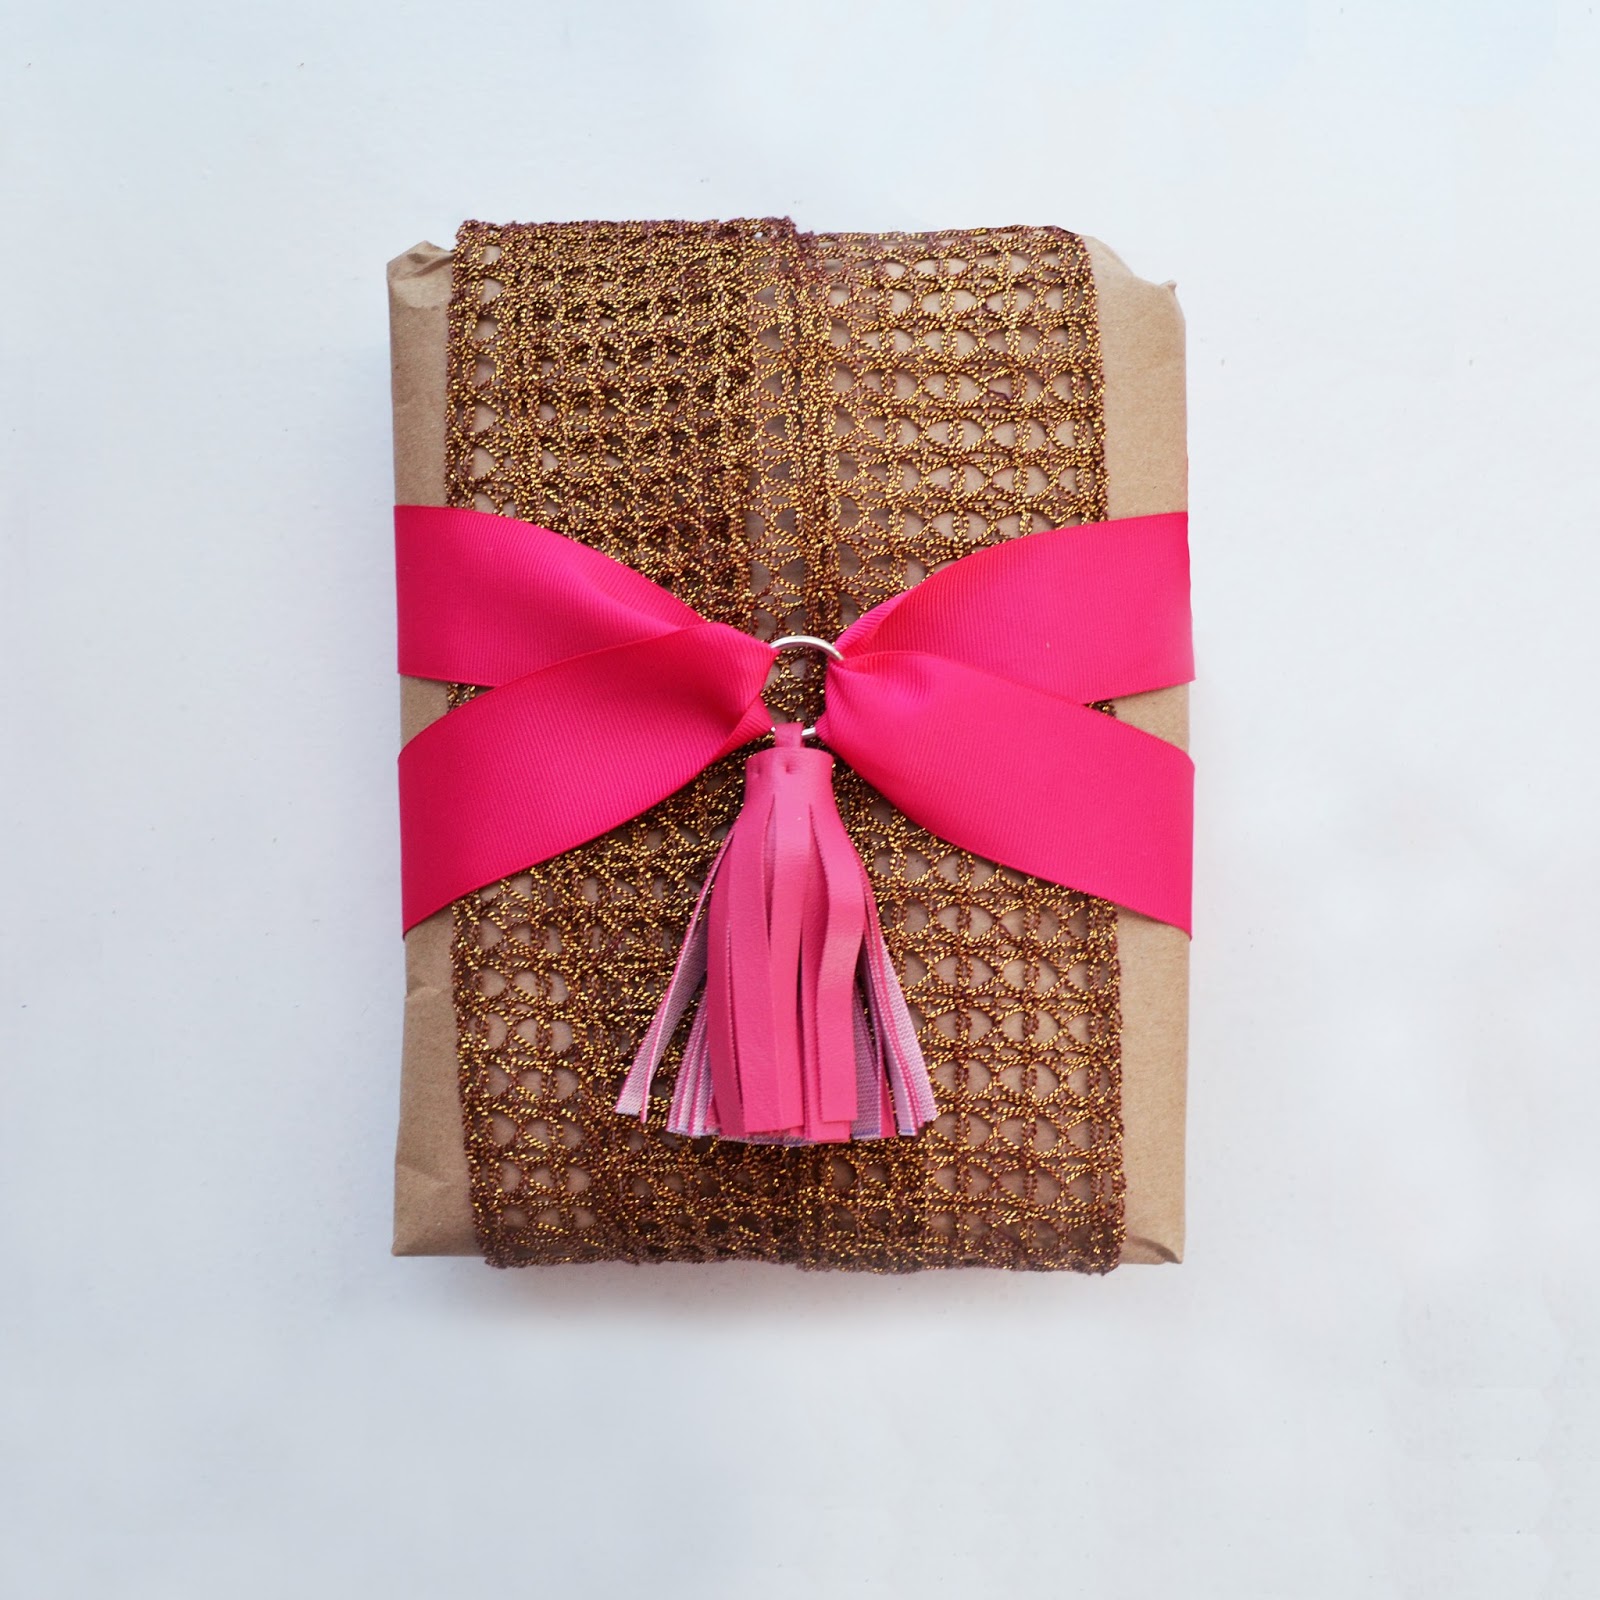
Fourth was a mix of some thick gold netting ribbon and hot pink grosgrain which I used to hold a pink tassel keychain in the middle.


Fifth I used a mix of a a paint strip and some dotty garlands I had leftover from an Easter party.


Then I stayed with the paint chips, but added in a scissor print and some eyelashes. I tied it all on with pink rick rack.


Seventh I continued with the idea of small gift as wrapping, and layered some cut out leaves with a sun printing kit and some polka dot ribbon.


Eight was some wrapping paper that I folded down to create layers, and an oversized playing card with black velvet ribbon.


Ninth I used some daisy trim and a fake flower.


Tenth I wove together a mix of construction paper strips and wrapped them around the middle of the package.


Then I used a combination of sparkly trims and small cards.


Finally for the last, I used some large and small price stickers to create a pattern on the paper.


Honestly I am sure that I could have kept going. I think I could draw two possible conclusions here: A. I am a hoarder and need to get this under control or B. My friends are going to be getting more gifts in the near future because this was super fun and there's not much that I like more than a prettily wrapped package. Also, this solidified my feeling that you really don't need 'gift wrap' in an official sense to wrap gifts well, because really anything can be used to make a package look exciting and finished.

Monday, September 7, 2015

more kitchen painting

I sort of feel like, if everything is cleared out for one painting project in a space, you may as well do a bunch more. So while I was painting the kitchen cabinets, I also  changed to color on the wall. I love the idea of a yellow kitchen in theory, and it was fun for a bit, but in practice, in this space, with they type of light the room got, it made everything look a bit dingy. So it seemed like a good time to try something new.  I have been pinning rooms painted with Benjamin Moore's deep space for what seems like years, it's a rich velvety looking dark gray, and it seemed like the perfect time to try it out. I was thinking that with the bright white on the cabinets, the contrast would make everything seem brighter and cleaner.


It was totally crazy looking at first, and drastic, but it looks wonderful now that it's finished. Definitely a transformative color. I enjoy the jewel box effect it provides for all of my bright dishes, my roommate likes it much better, and I think that it will go very well with the new floor. Very happy with this most recent finished part of the room.


making my own birthday invitations

In some ways, making something for myself is the easiest, but in some ways its far more challenging than any other kind of project. Maybe because I have all of these random ideas bubbling up and have trouble deciding on any one, maybe because I'm a terrible fickle client, who knows. I decided to throw a birthday party for myself this year (it's a big one, so it seemed appropriate) and when I finally decided on a plan (park picnic with lawn games) I figured I'd let myself indulge in a bit of party planning and decoration cuteness, just to get it out of my system I guess. So in addition to planning an elaborate menu of snacks and doing a bunch of balloon decorations and party favors (more on those later) I made real invitations. Crazy right? And then I sent them in the main----even crazier!
So I spent an afternoon just doodling around with supplies figuring out a plan and then producing a small run of these. I started by pulling out all the colored envelopes I have leftover from other things and picked the turquoise ones which started me on a color pallet. Then I decided that I wanted to do a sort of die-cut style illustration for the front of the card, so I drew up this portrait of myself as a panda, scanned it into the computer and and sized it so that I could get two cards out of an standard sheet of card stock. I did a few versions of the colors in the panda's dress and balloons before I settled on the final version.


Then it was time to come up with the interior. I was struggling with what to say in the card, how to convey it, so eventually I just wrote something up that sounded sort of conversational, and then lettered it out with ink, scanned it and cleaned it up, and printed it out on vellum. I used the edge of the panda on the front of the card as a template for designing the interior so that when the card is closed only the left side of the text is visible, and then when you open it up you get all the additional information.

As I wanted some more color on the interior of the card, I also cut down some grass green paper to layer behind the vellum in the interior, then I stacked all three pieces together and ran them through the sewing machine to attache them all together.

(I also decided the panda needed to be saying something and I sort of just went for the most obvious as you can see here, it seemed appropriate!)
Finally, I cut up some confetti from the leftover bits of paper scattered across my desk, piled it in each card and put them in their envelopes. I used these giant neon orange price stickers I've had forever but never had a project for, and addressed them with ink. The ones that were sent through the mail had a collection of colorful stamps as well. And in just a few hours, I had a pile of invitations ready to drop in the mail, and deliver around to various people. I always feel like invitations set the tone for an event and so I'm hoping these get people excited for a festive little shindig. I've always loved receiving colorful and exciting mail (ie-anything other than bills) so I figure other people probably enjoy it too and I was happy to spice up the mailbox for a day.

Wednesday, September 2, 2015

patterning kitchen cabinets

So last I left off with the kitchen work, it looked something like this.
Now, I could have cleaned up the paint on the glass cabinet fronts, however, there were about five layers of multicolored paints that had gotten onto the textured interior surface of the glass that I couldn't remove despite my best efforts. So I brainstormed other ways to deal with the glass fronts that were inexpensive and most importantly removal  (because: rental) and came up with contact paper!. Once again, such a useful material.

I started with white contact paper and just cut pieces to fill in the glass portion of the doors. And while this looked clean and fine and was a massive improvement, it didn't seem very..... exciting. So naturally I began to think about patterns as well. 
There wasn't much of a plan honestly, I just started working up a sort of abstract stripe pattern.

And it turned into this. I am still on the fence actually. I like it, and it's fun and interesting and different. Also seeing as it's easy to remove and or change, I figure if I get sick of it I can just swap it out for a new  pattern. Perhaps polka dots? Or should I just leave it plain white? All thoughts and opinions are welcome!